AMÓURA
Results

Gallery

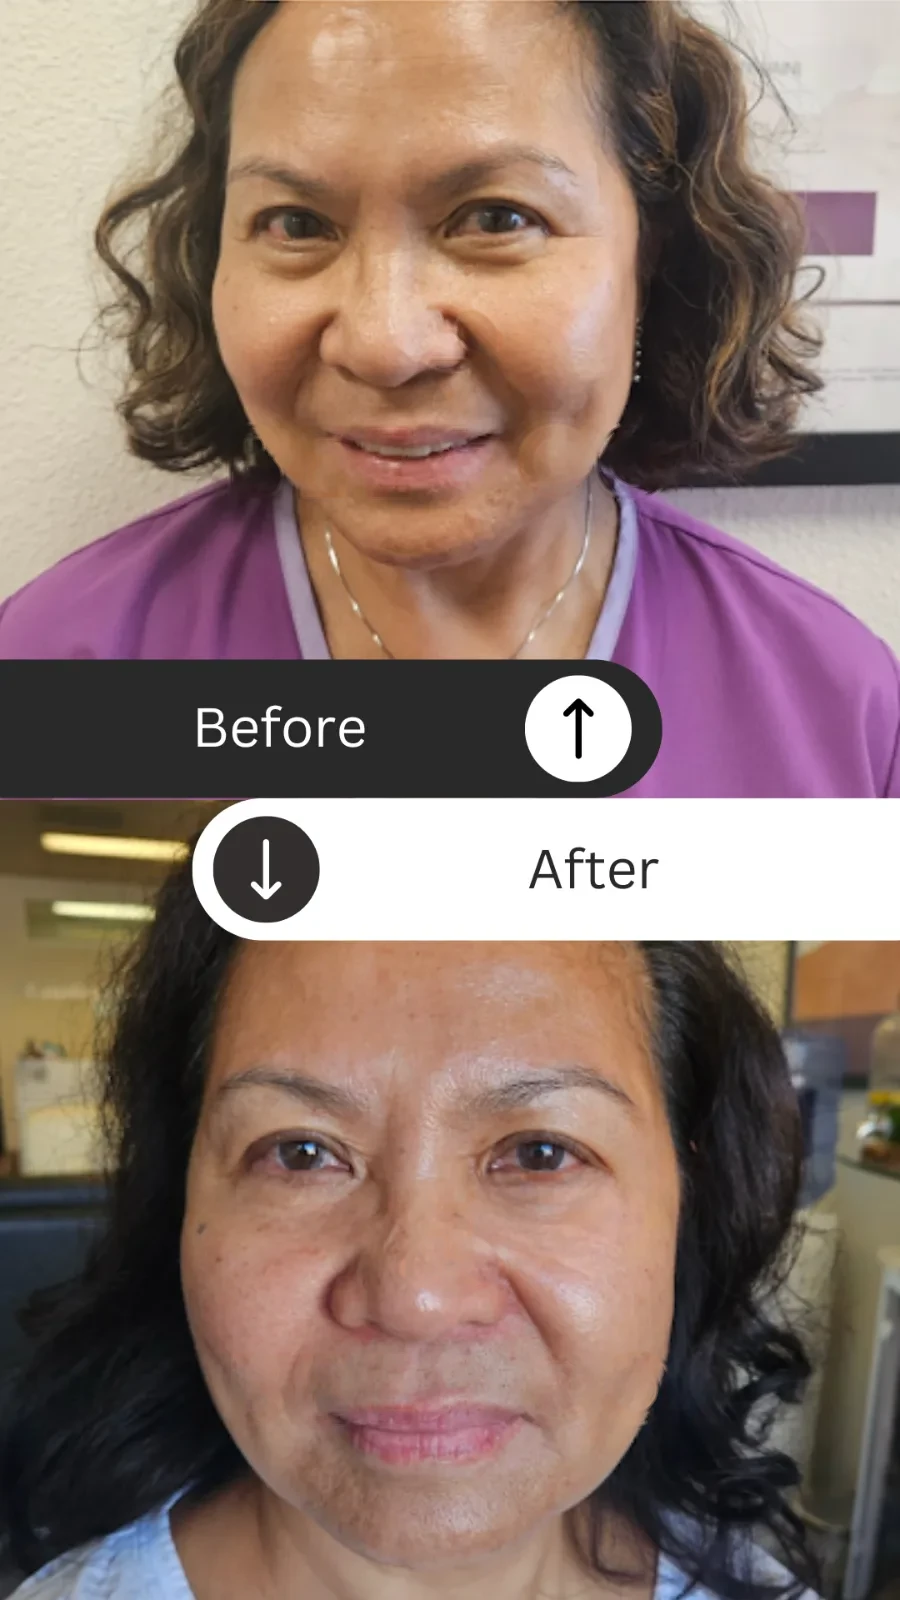
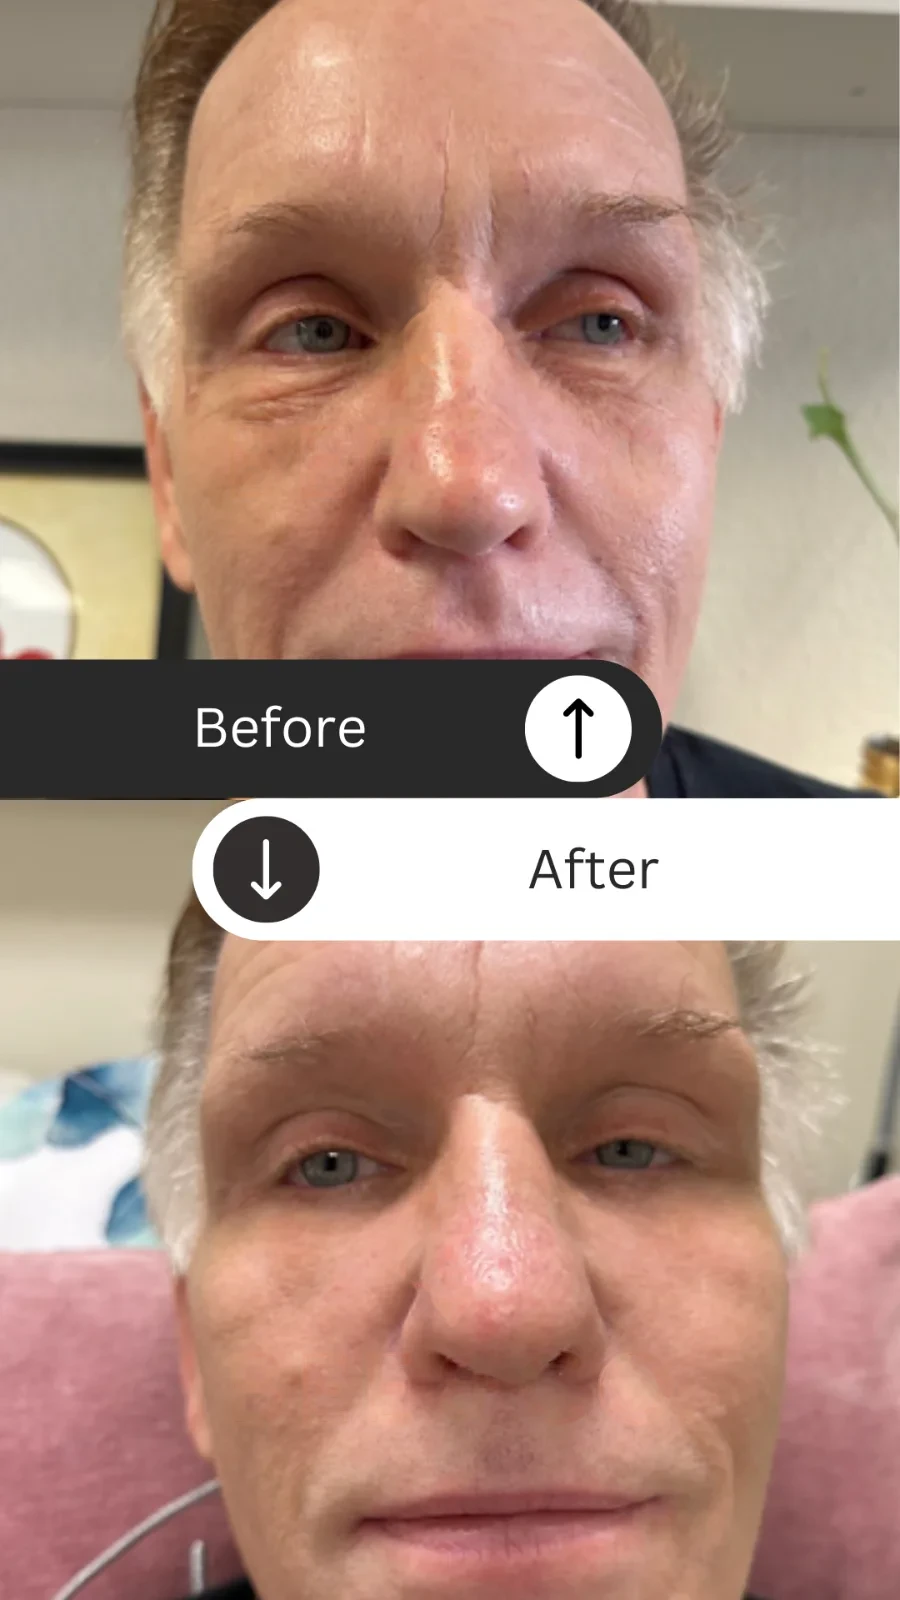
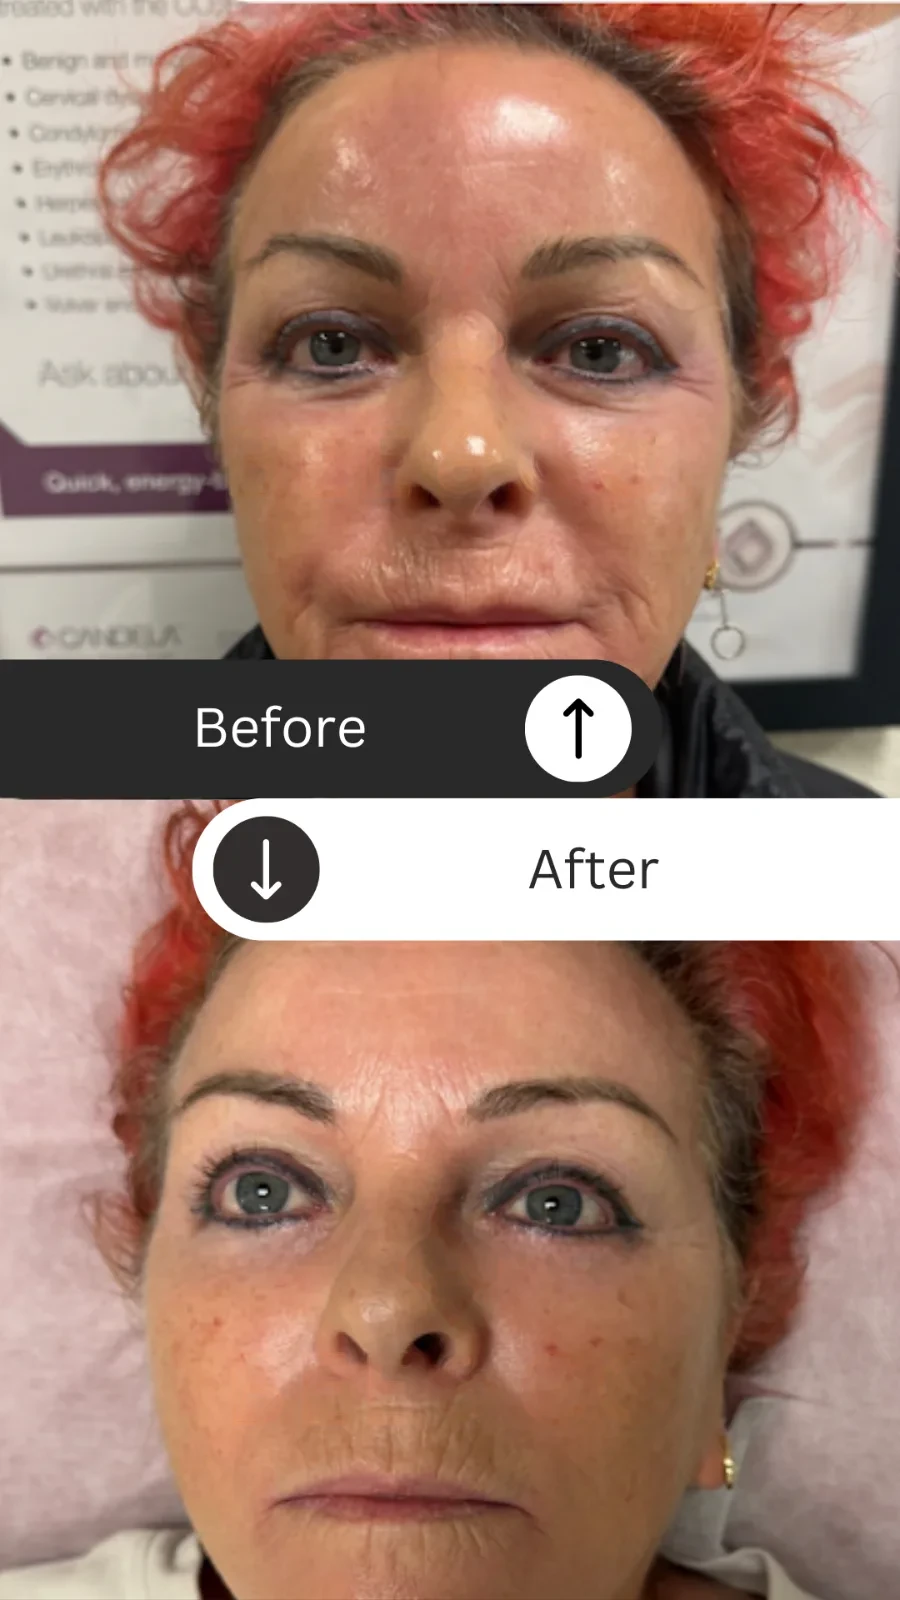
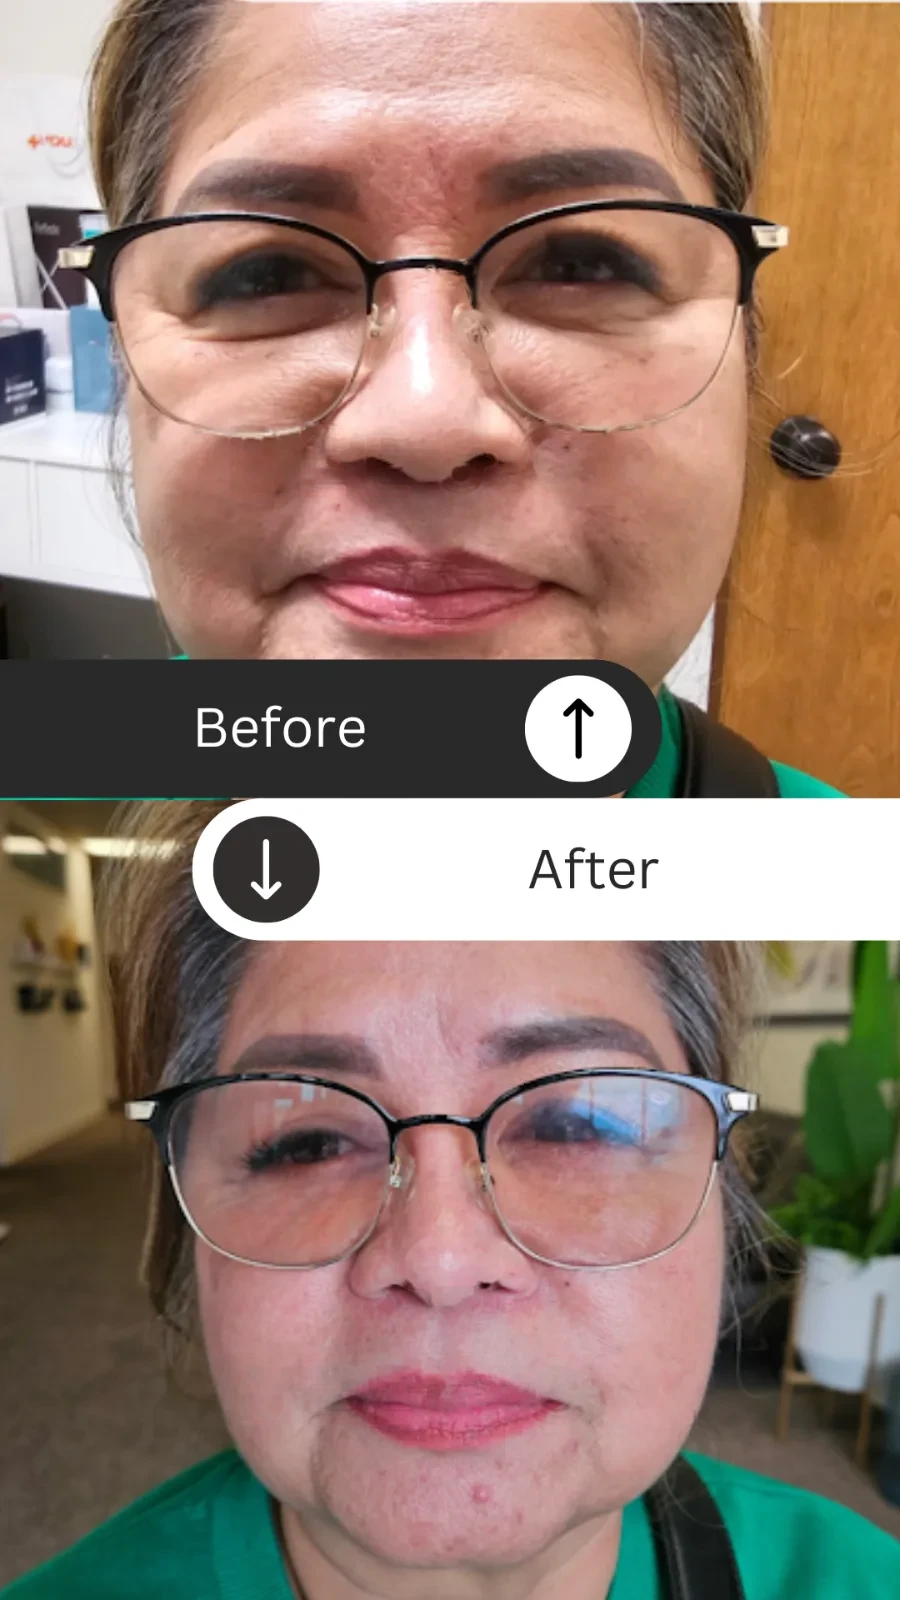
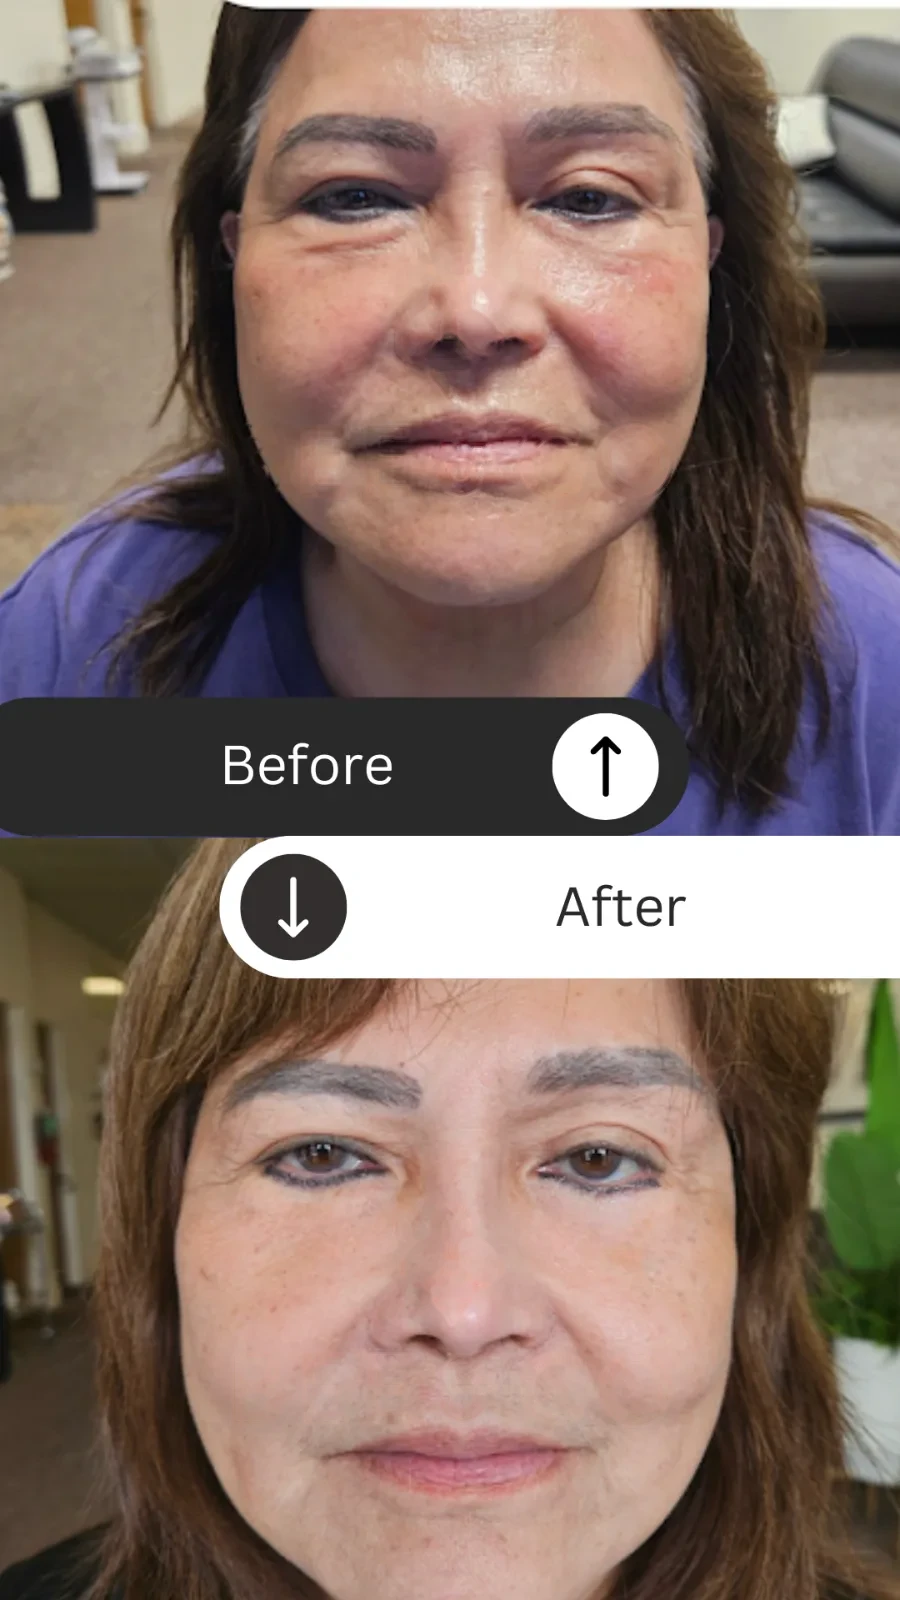
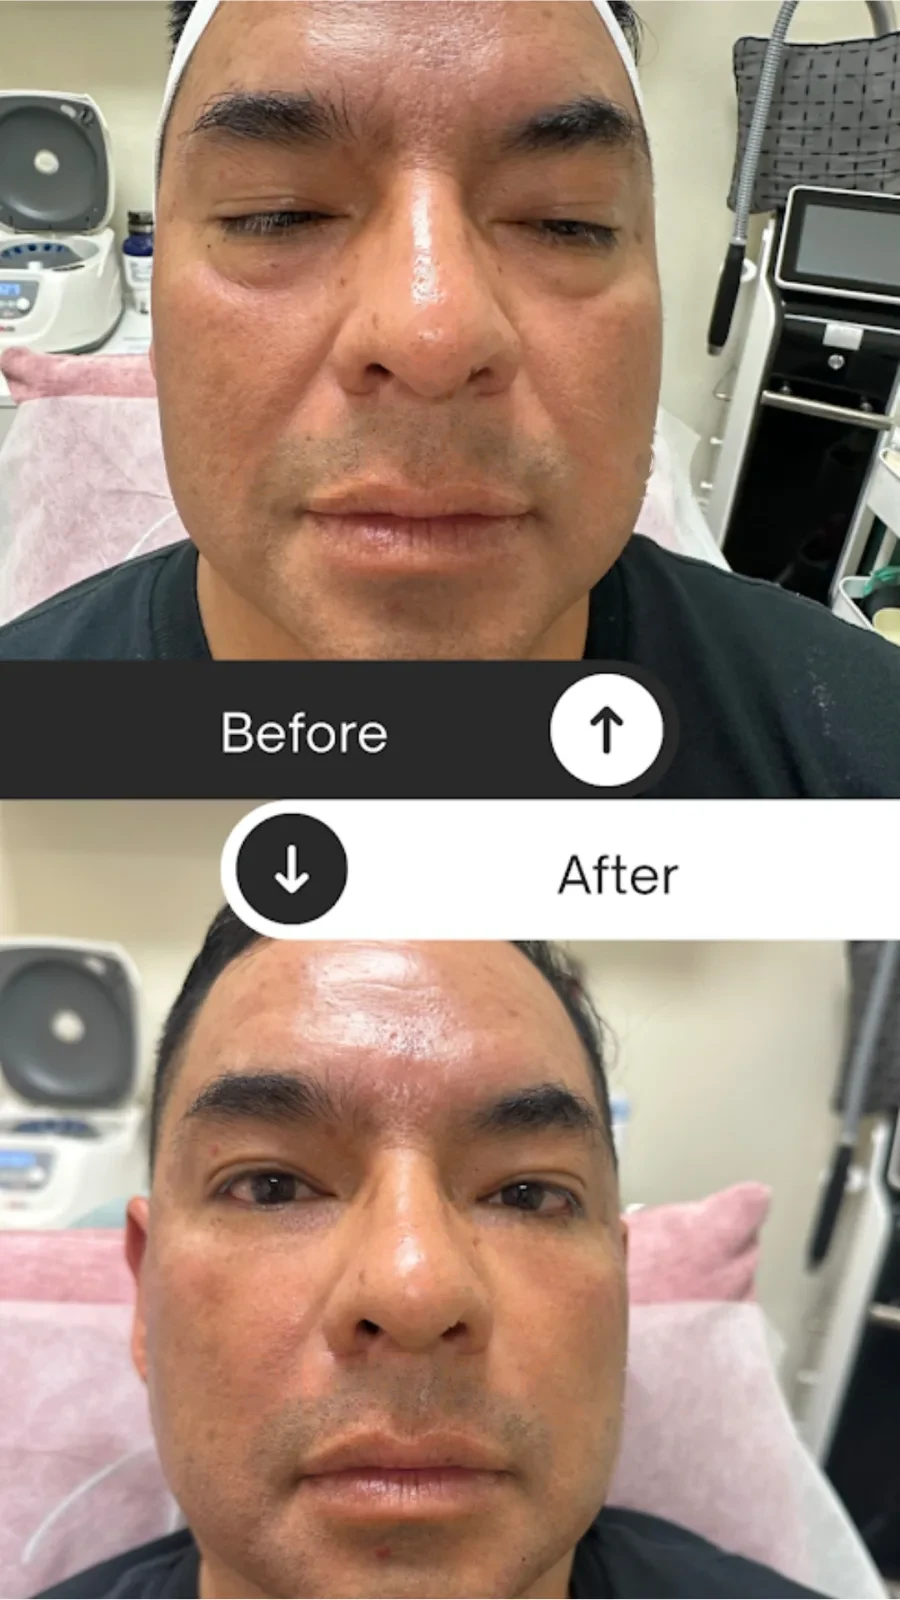
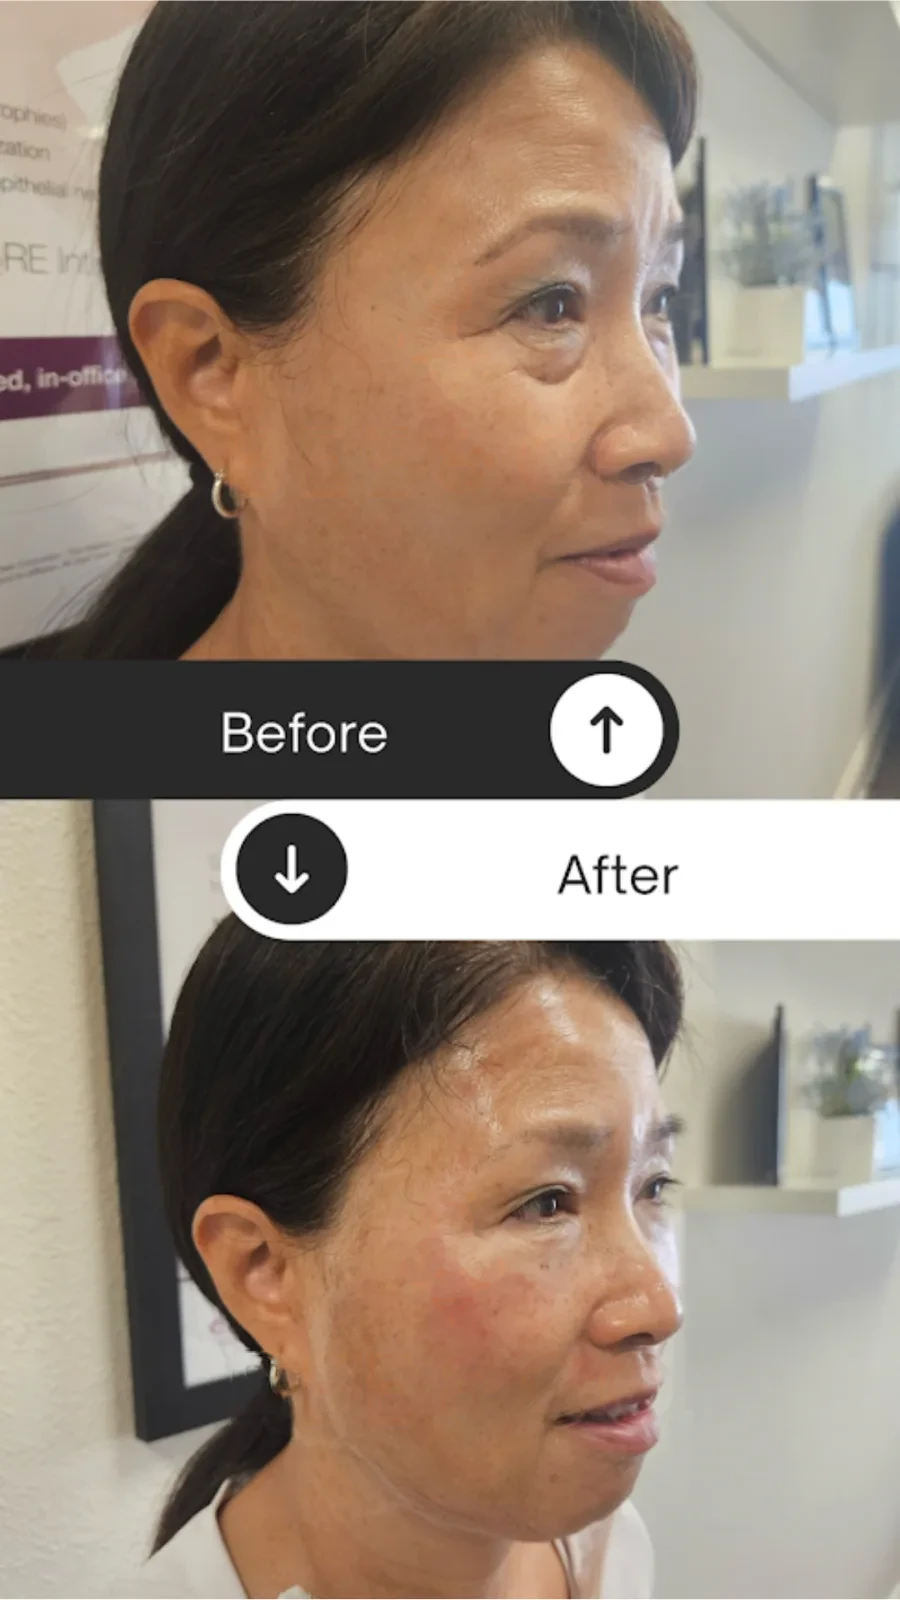
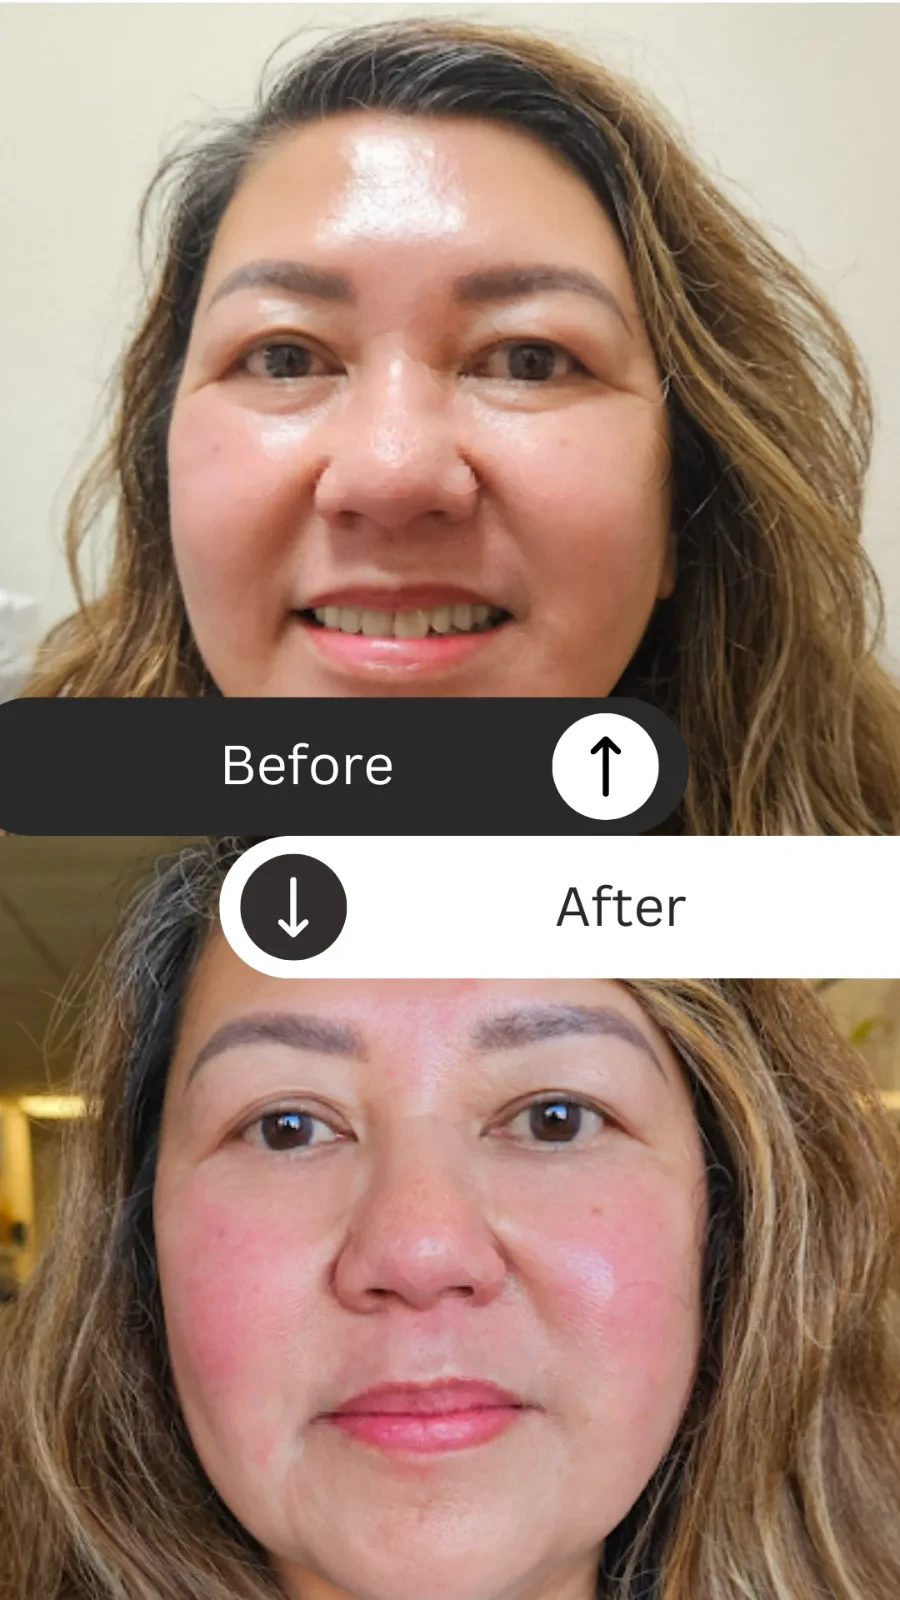
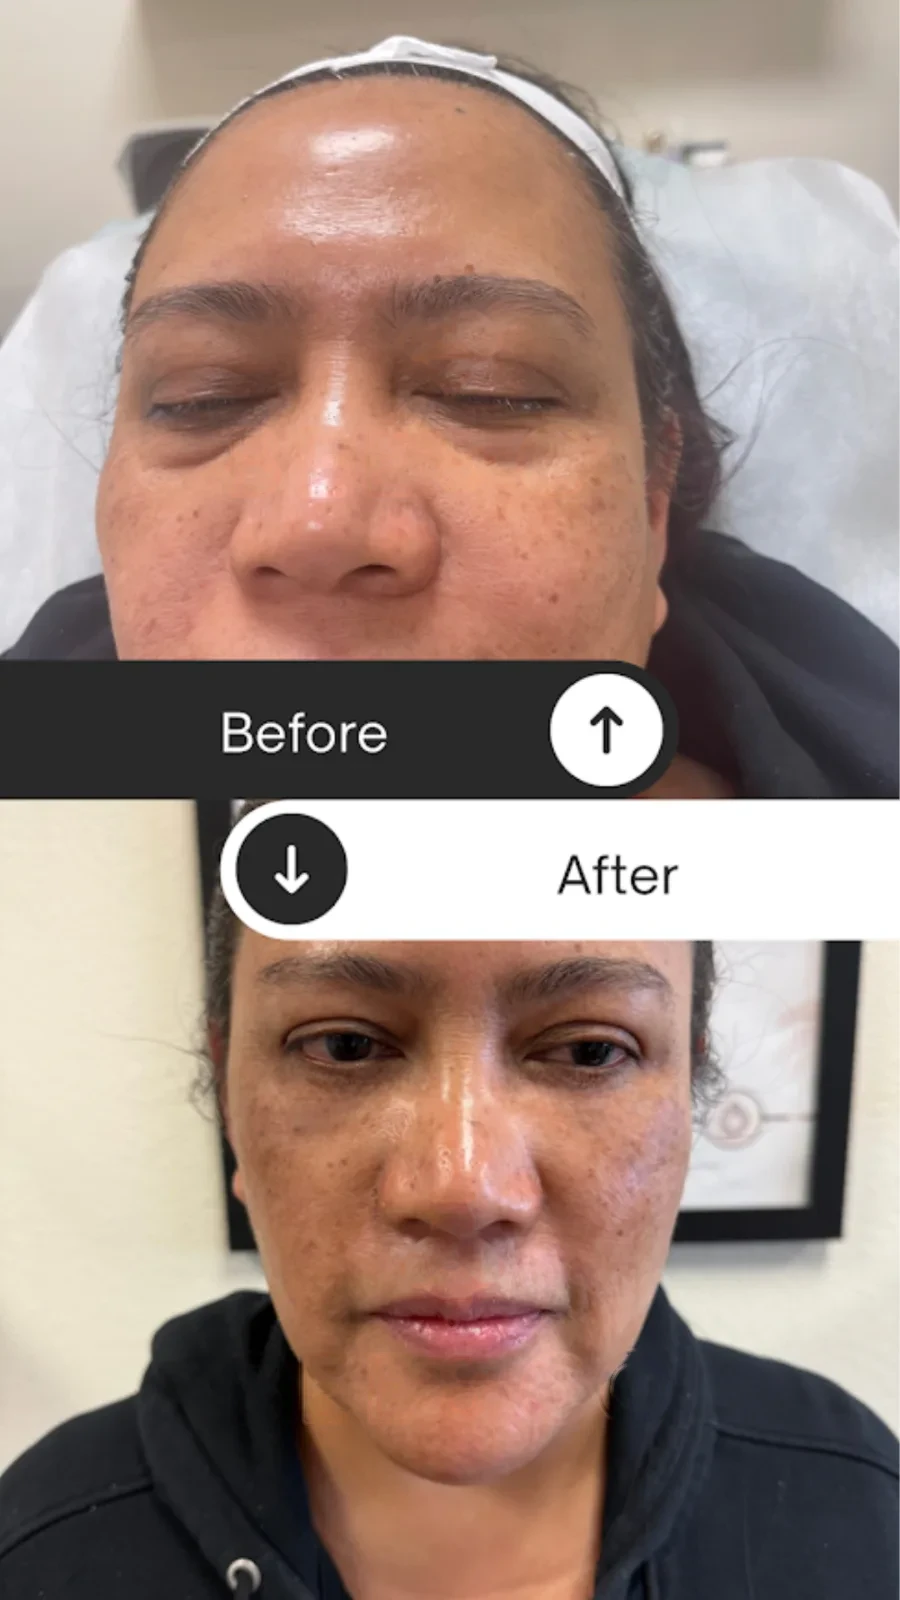
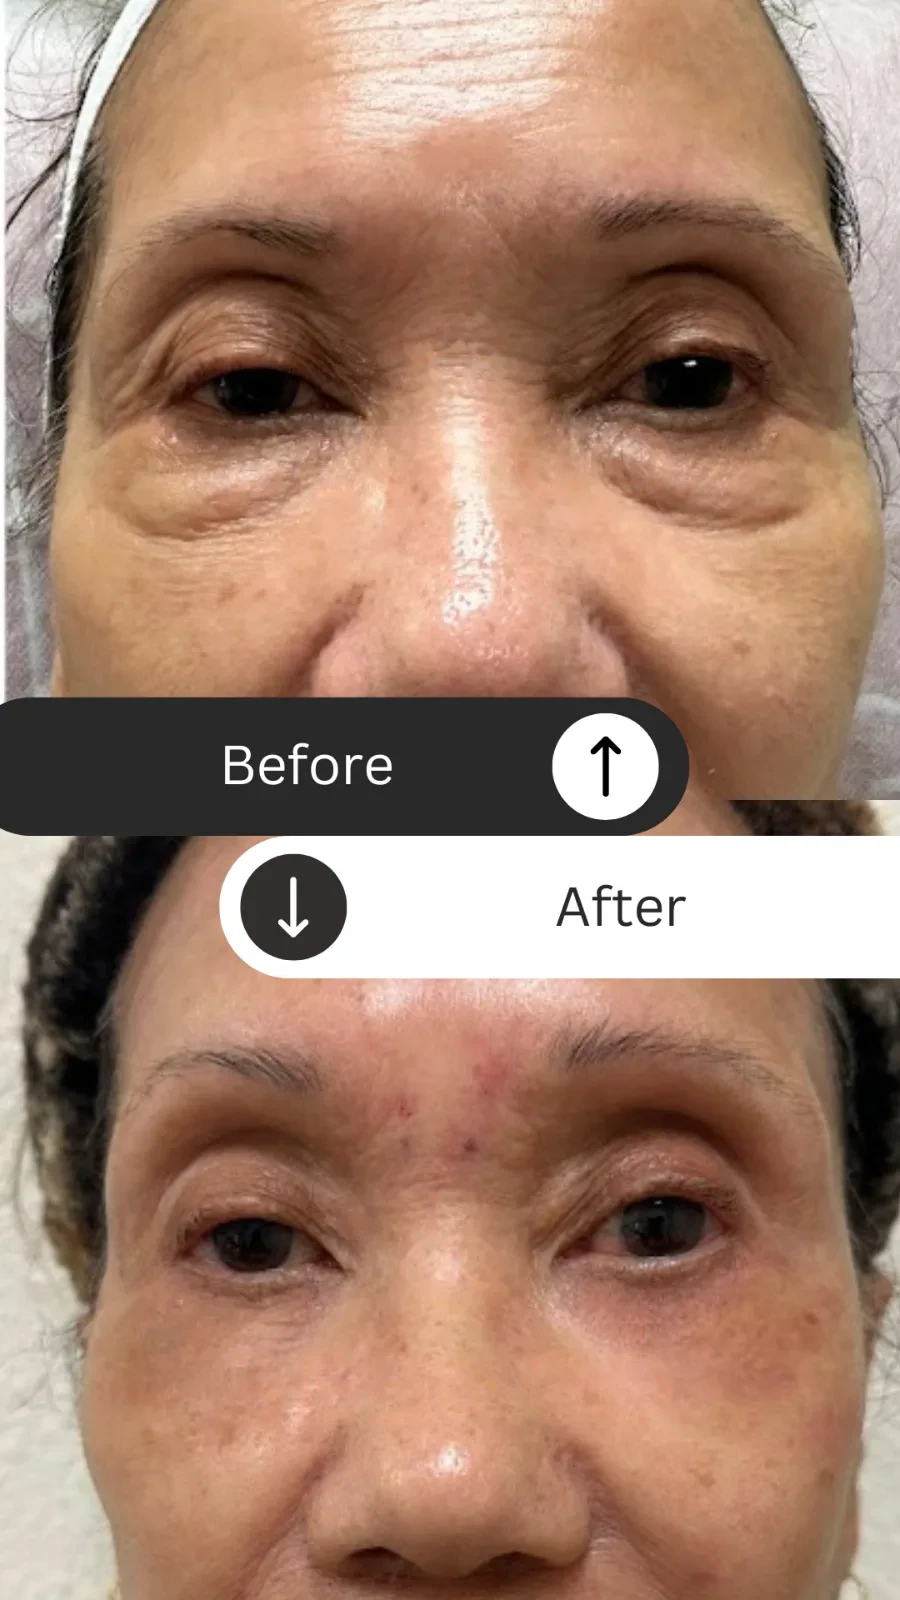
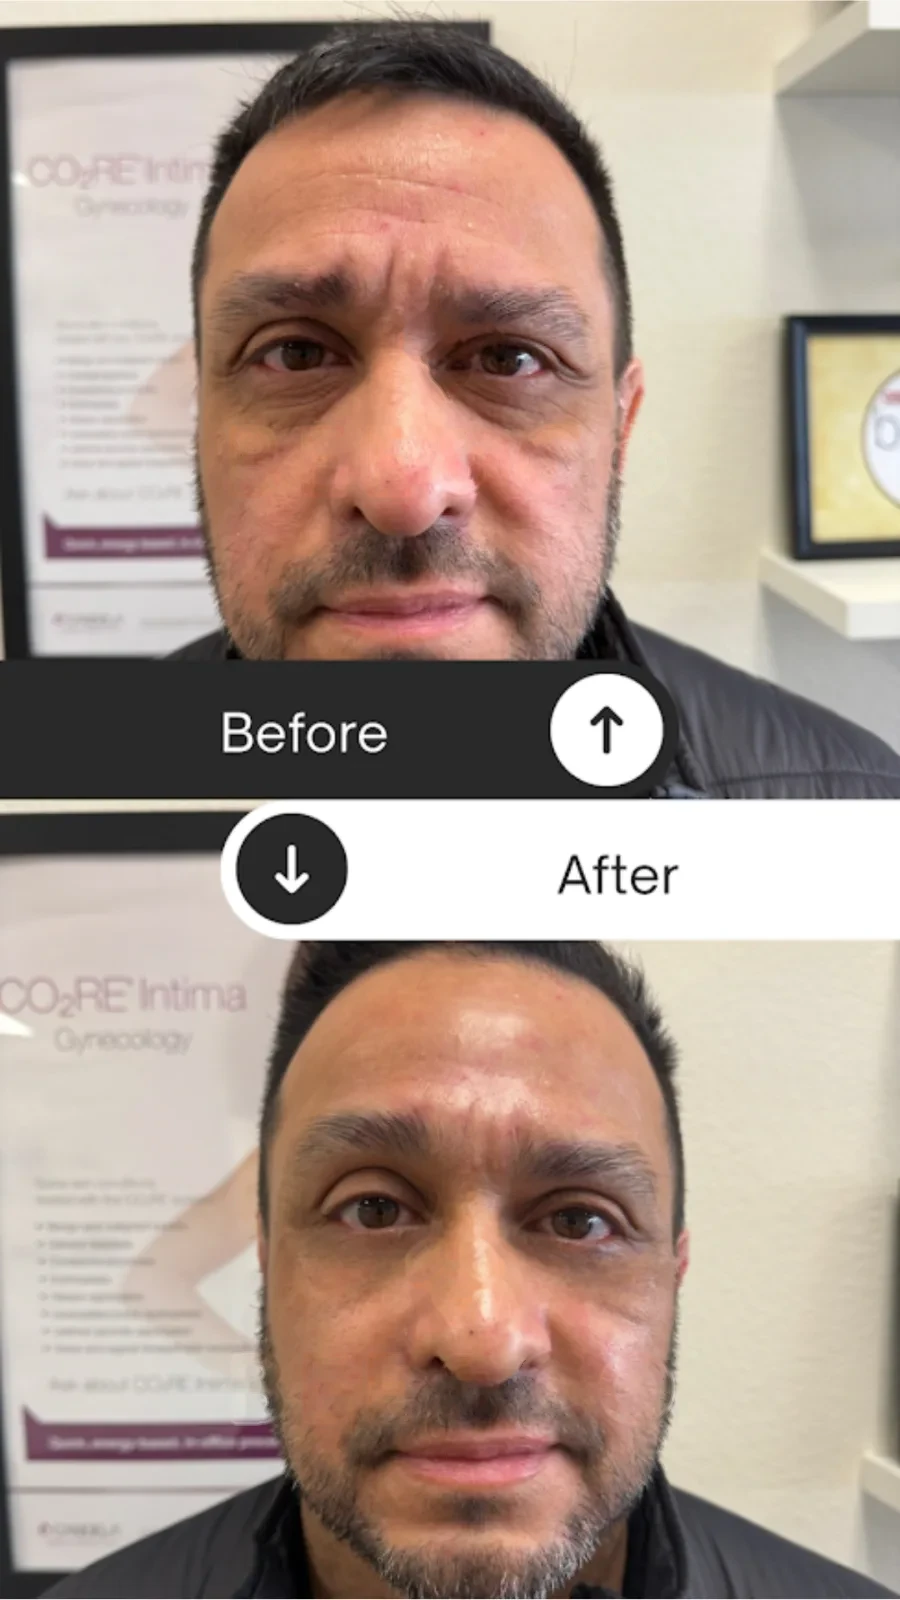
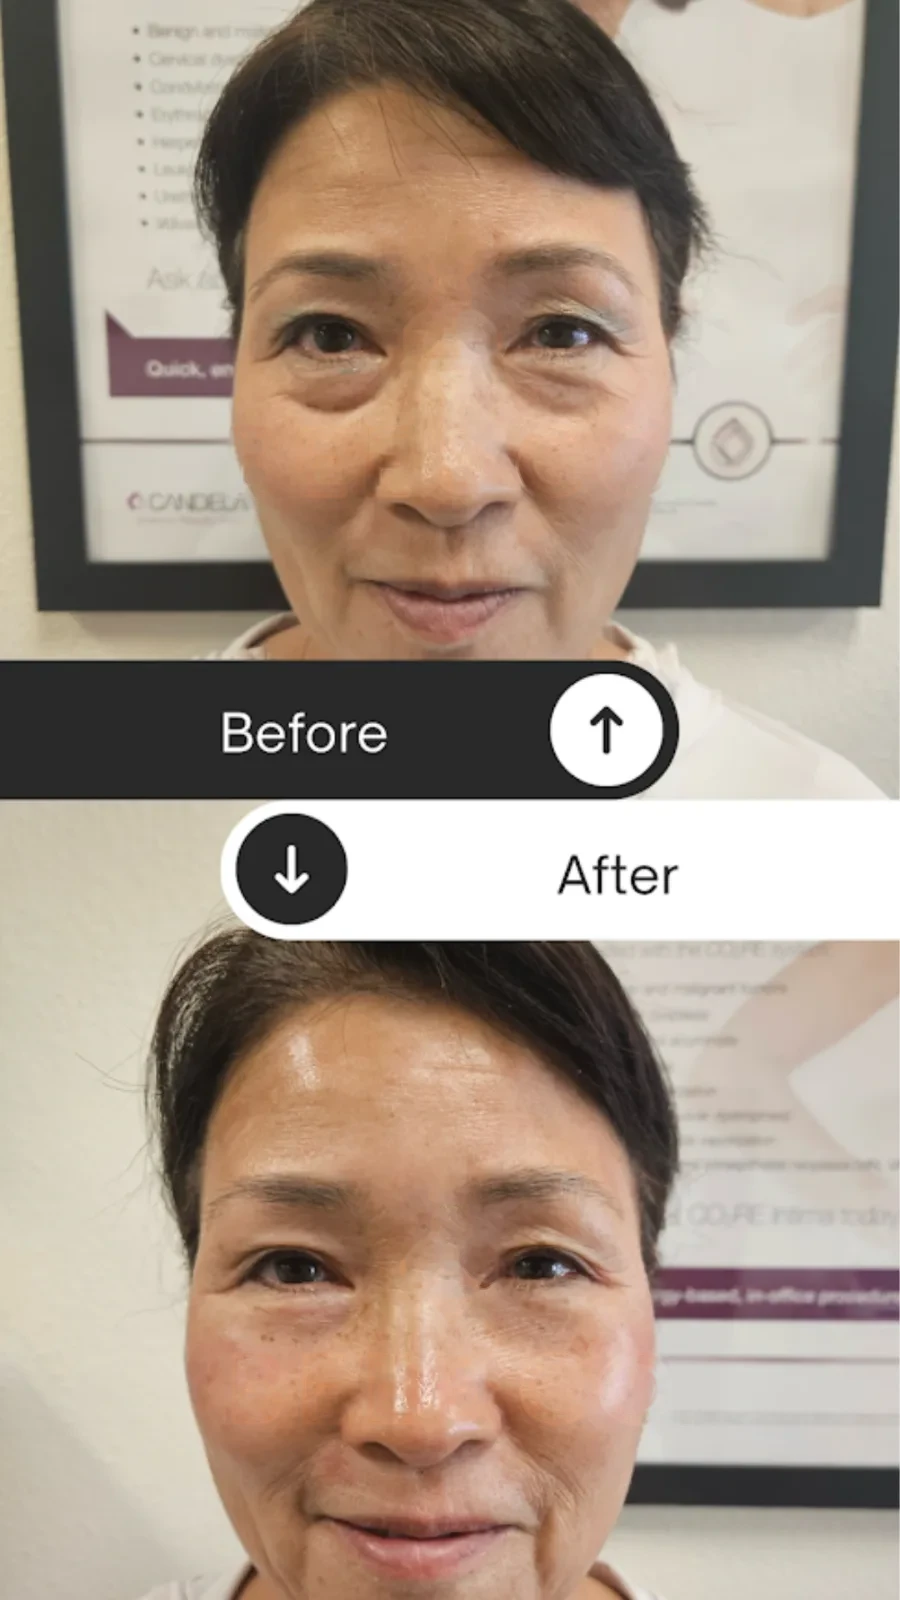
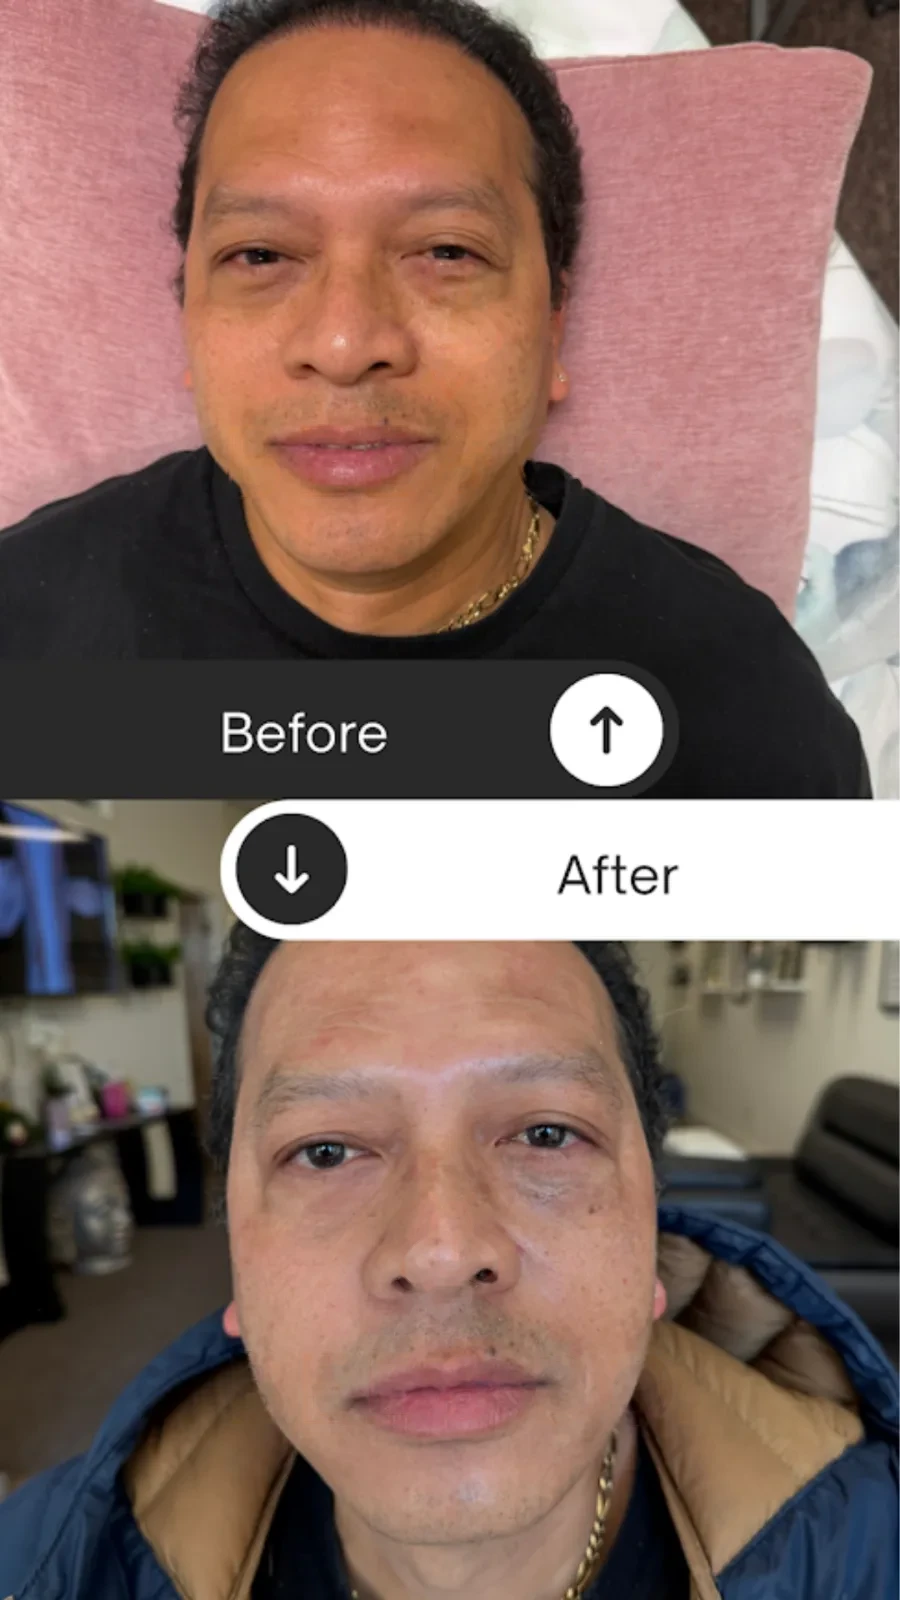
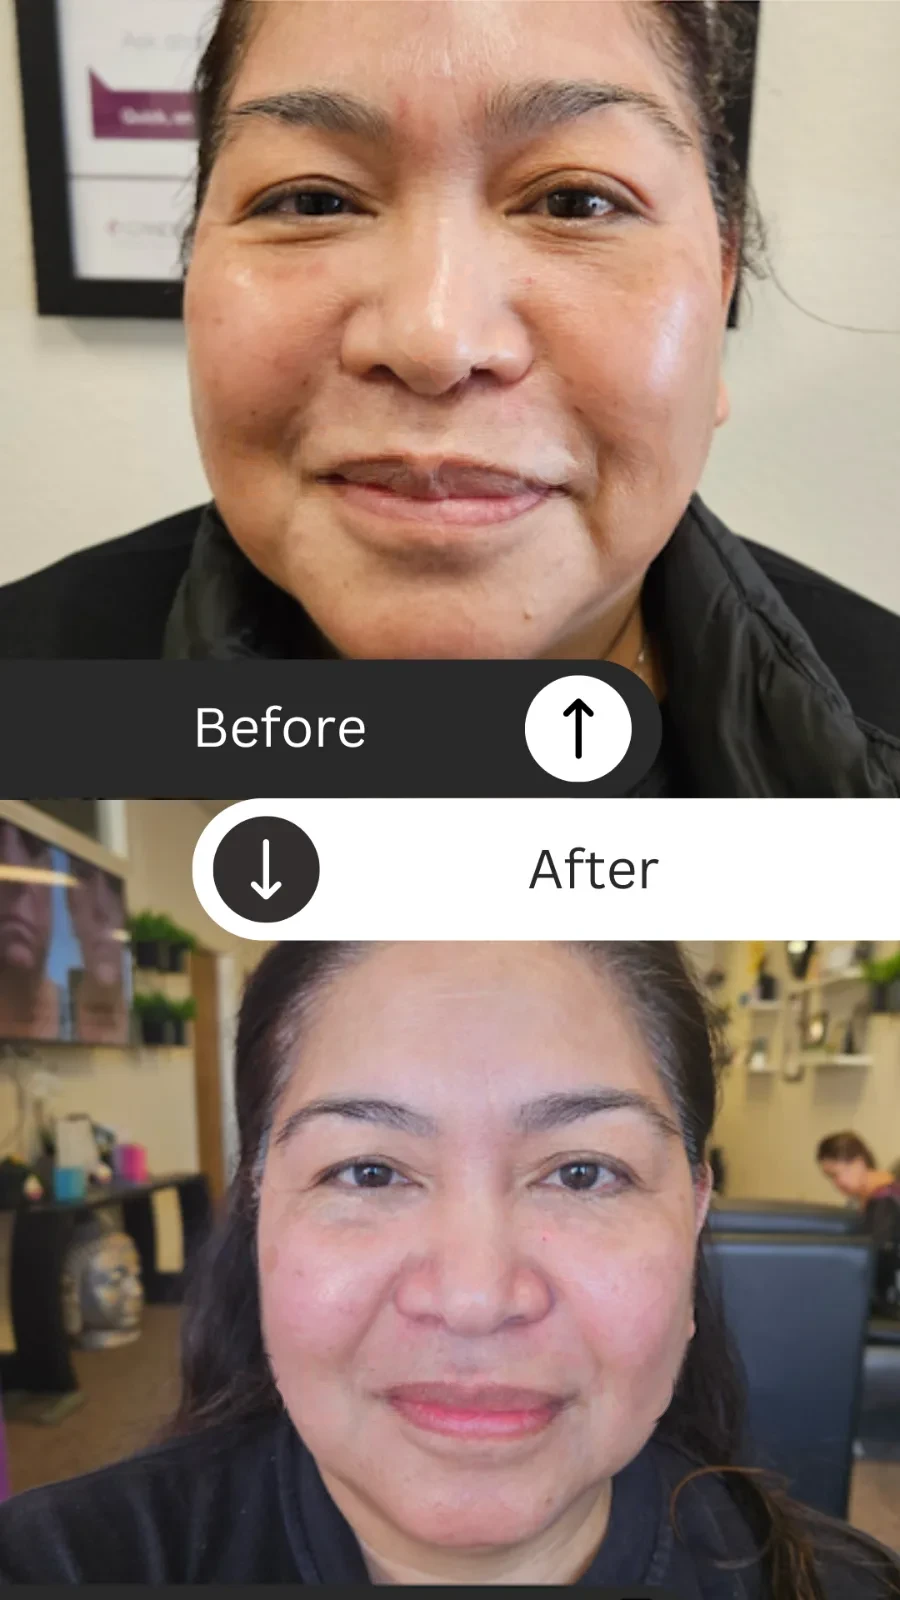
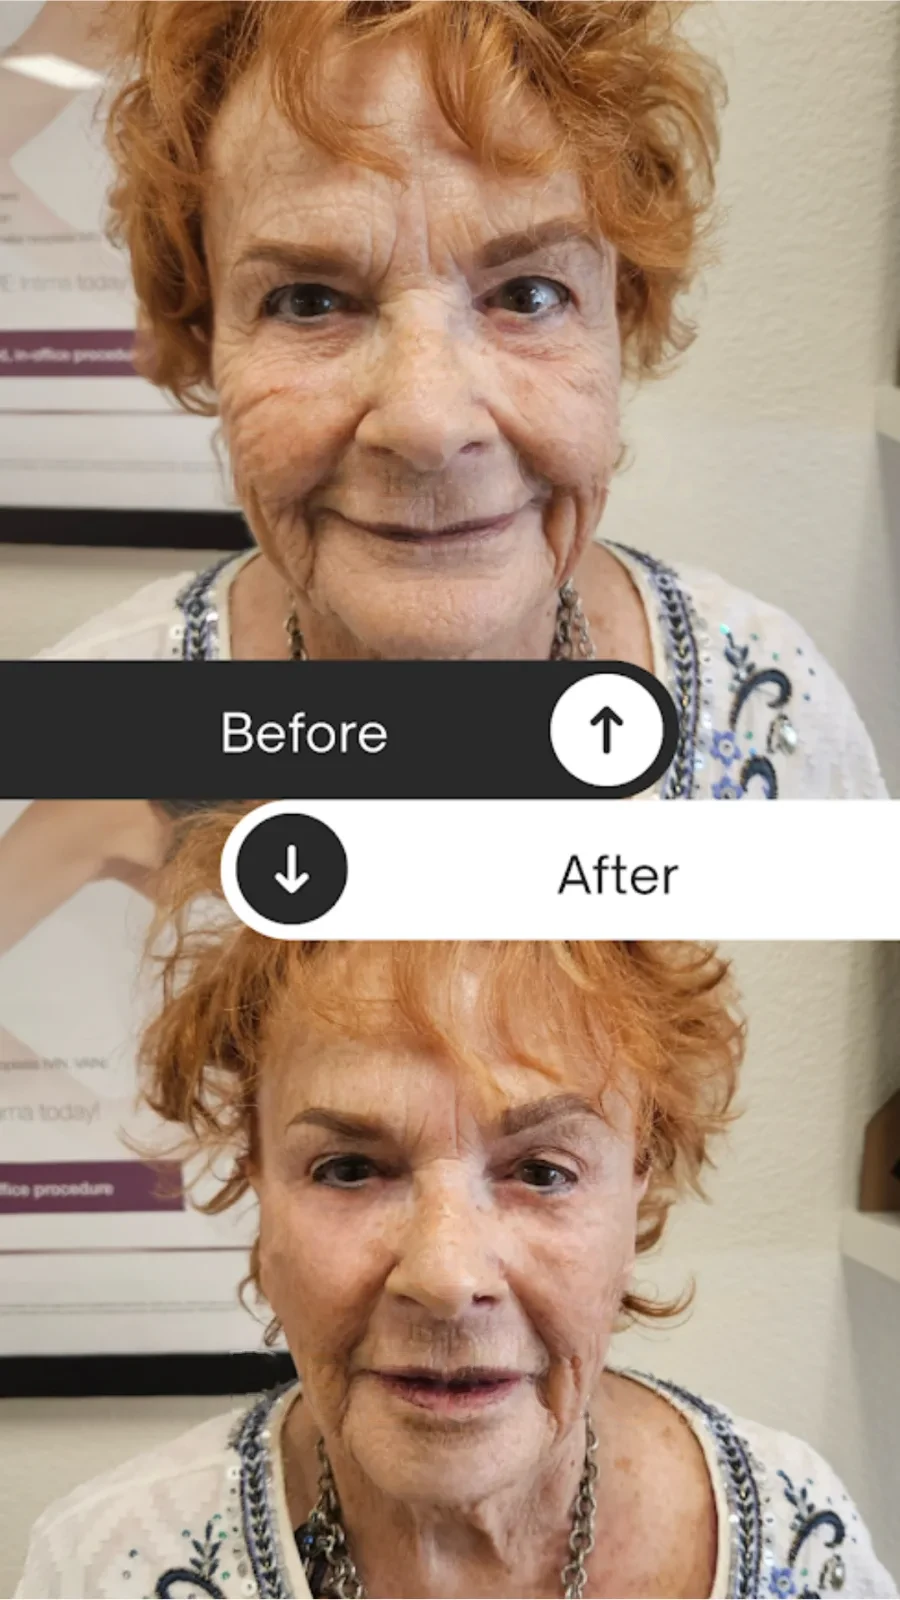
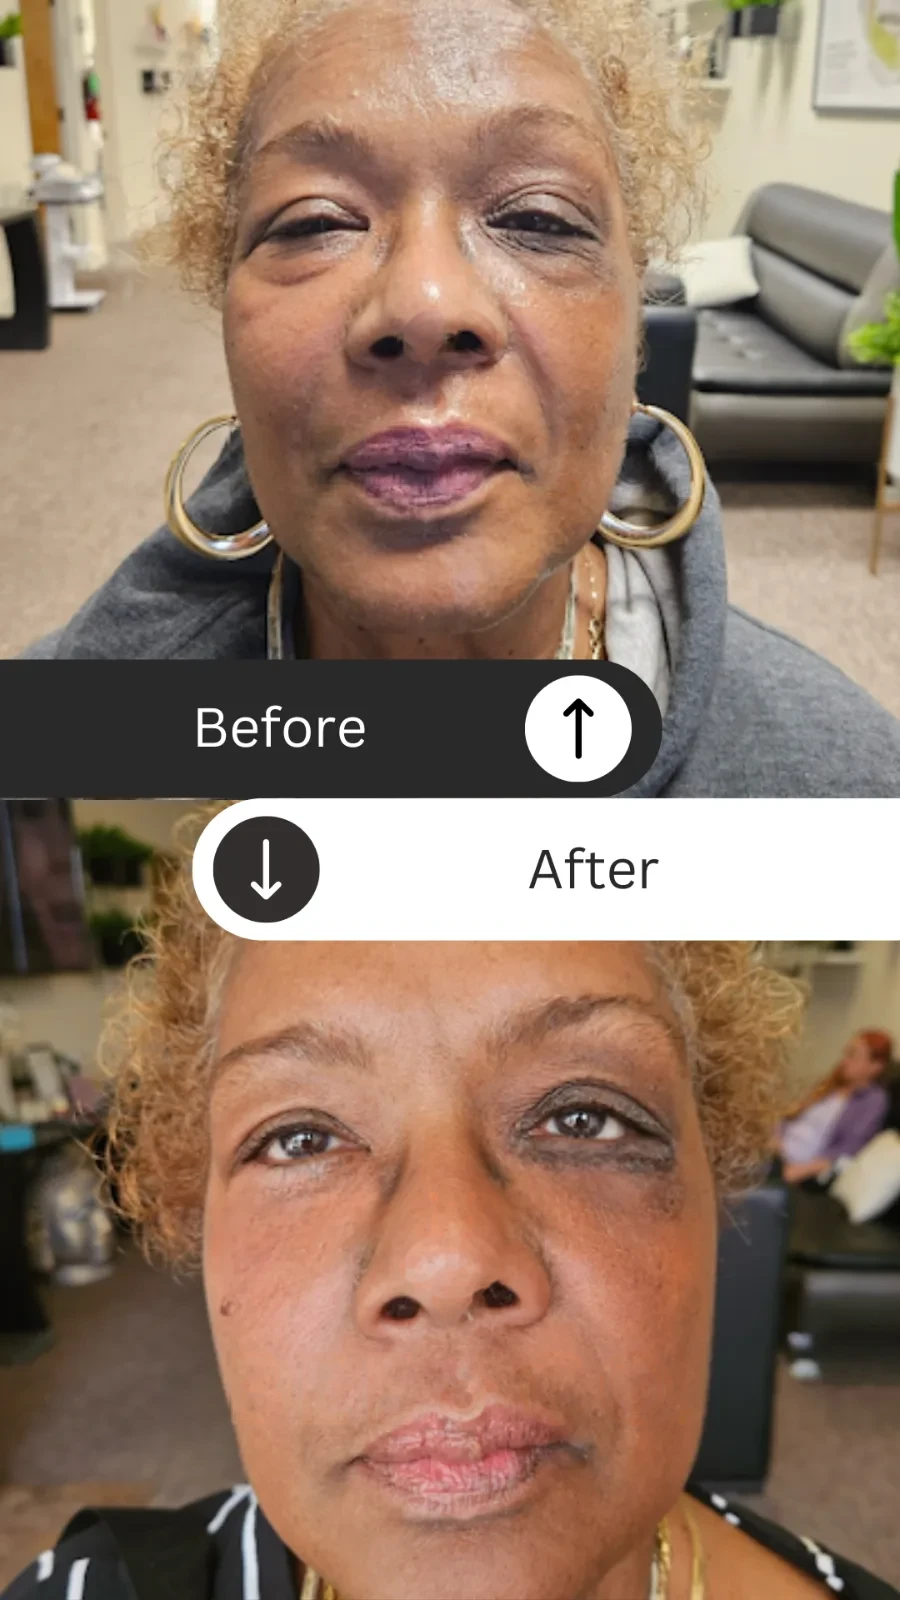
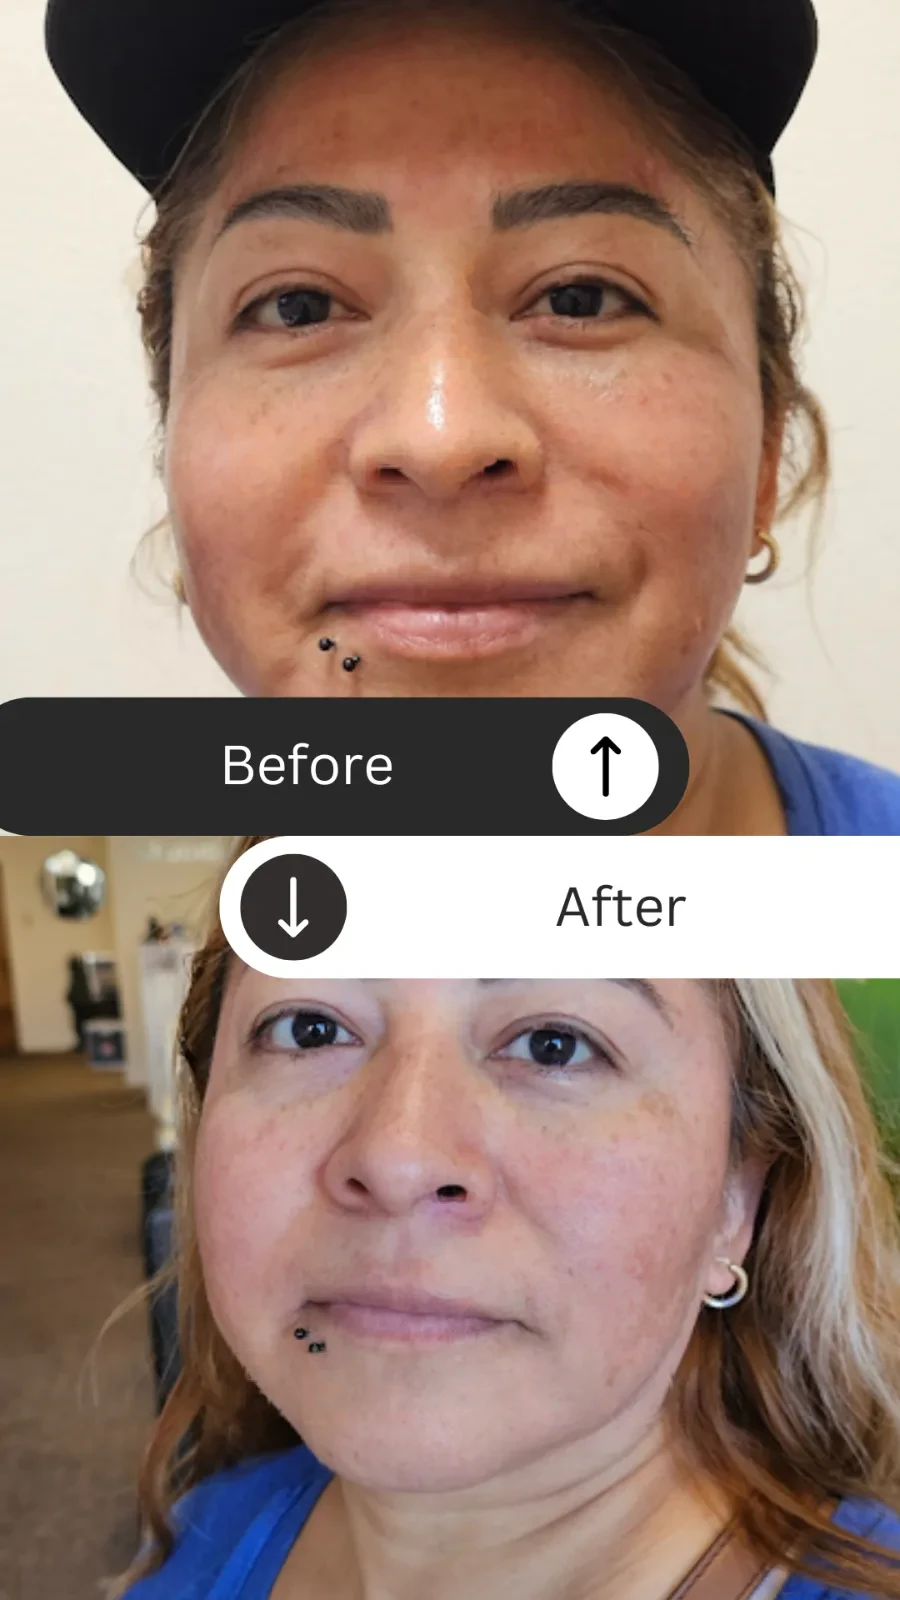
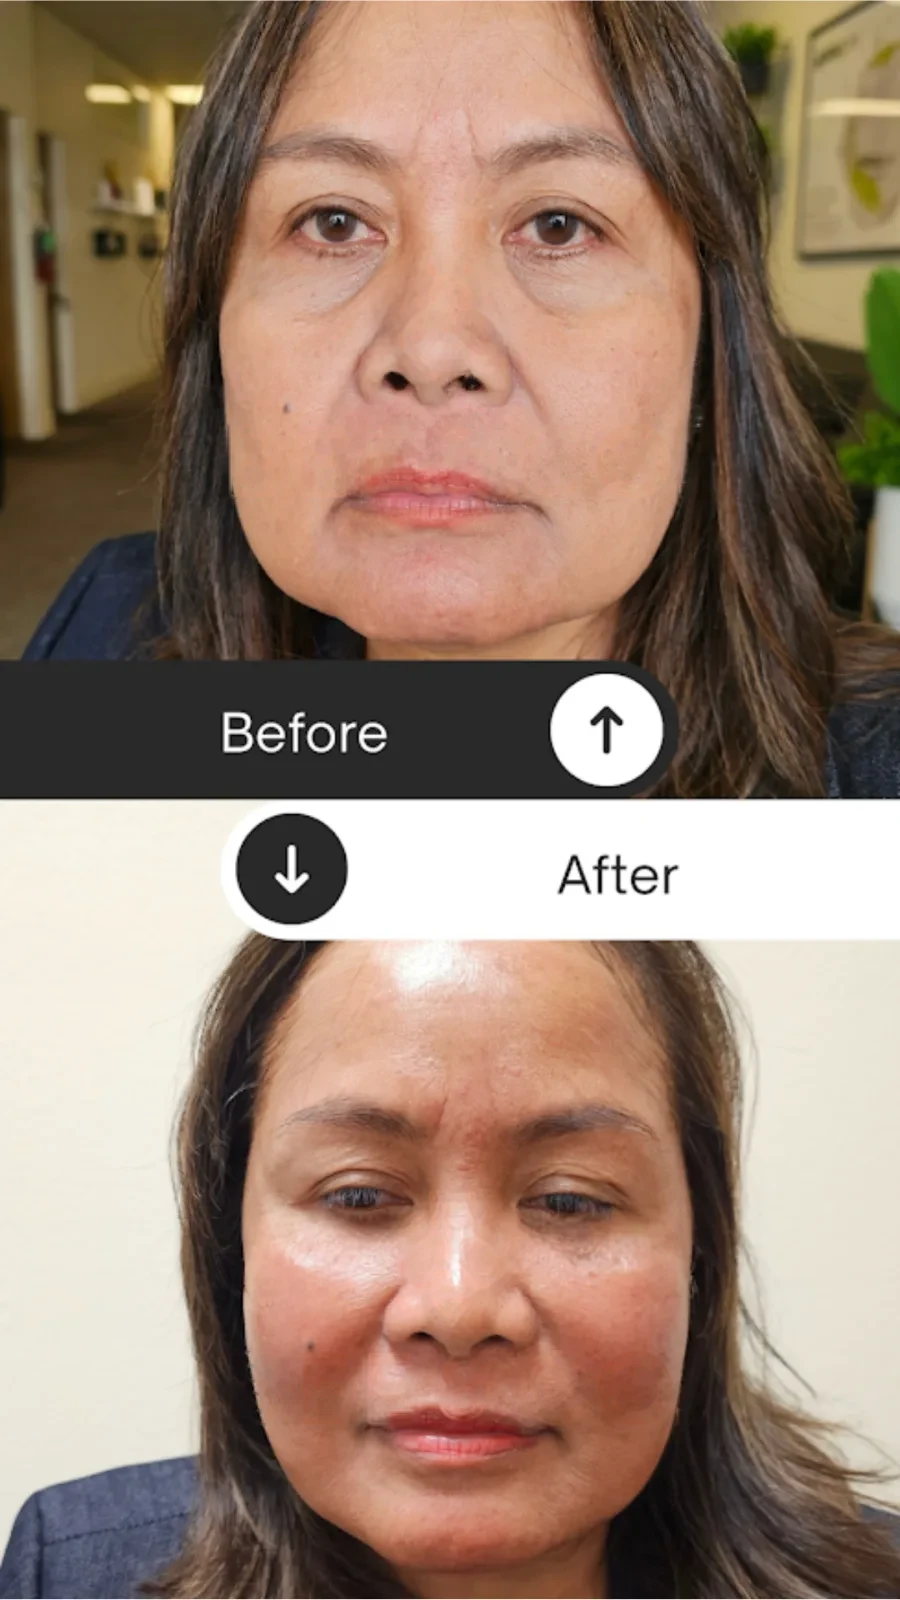
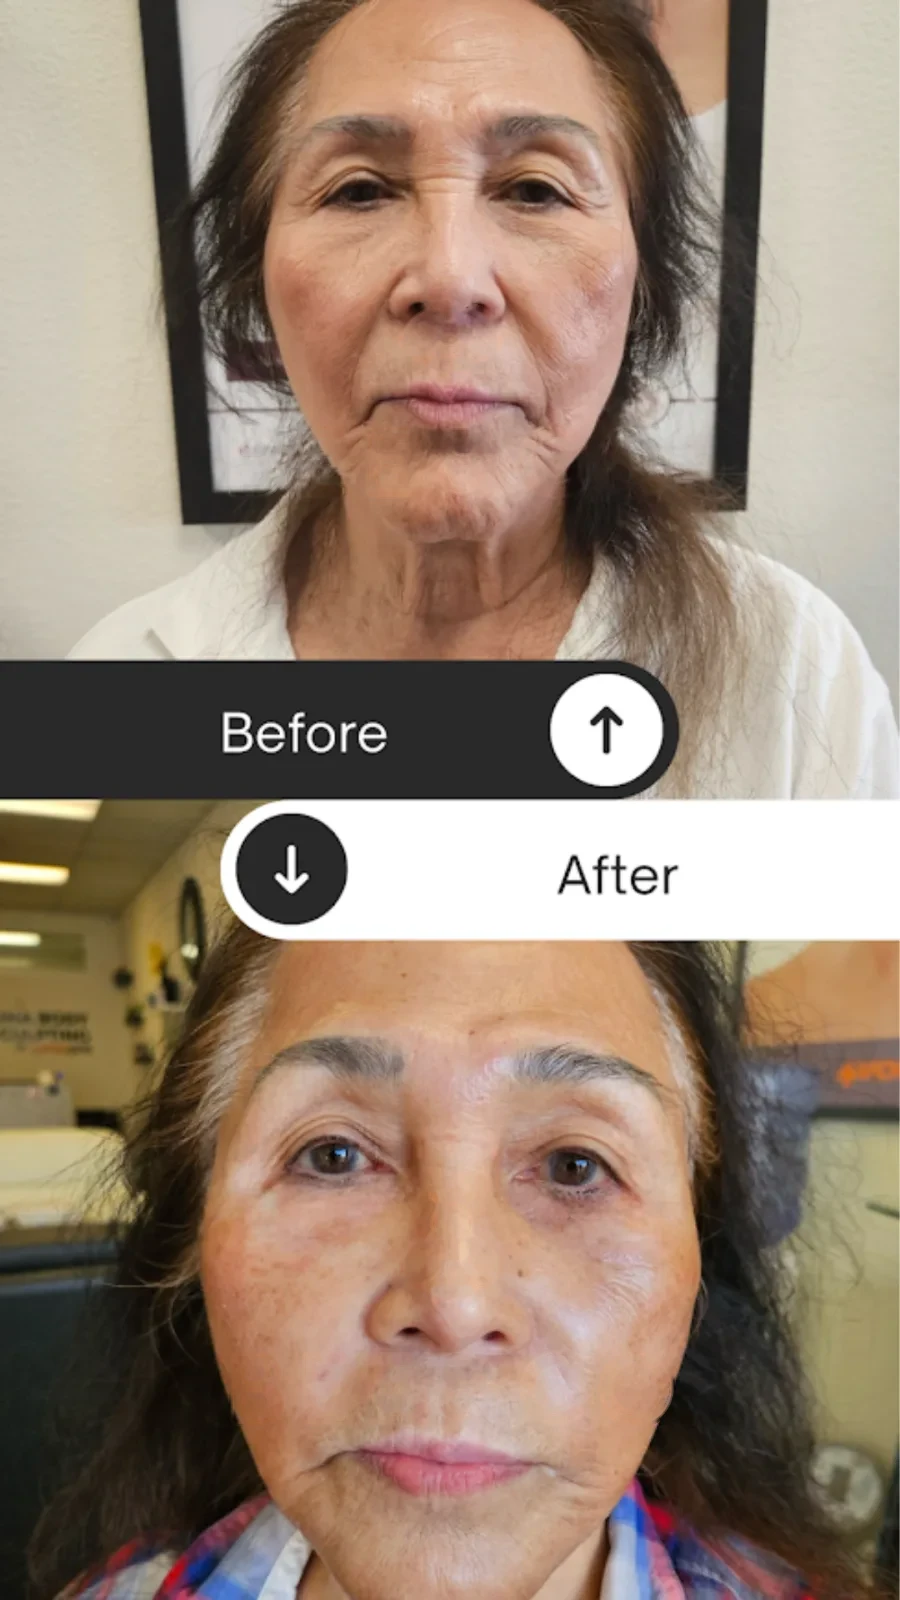
Before and after.
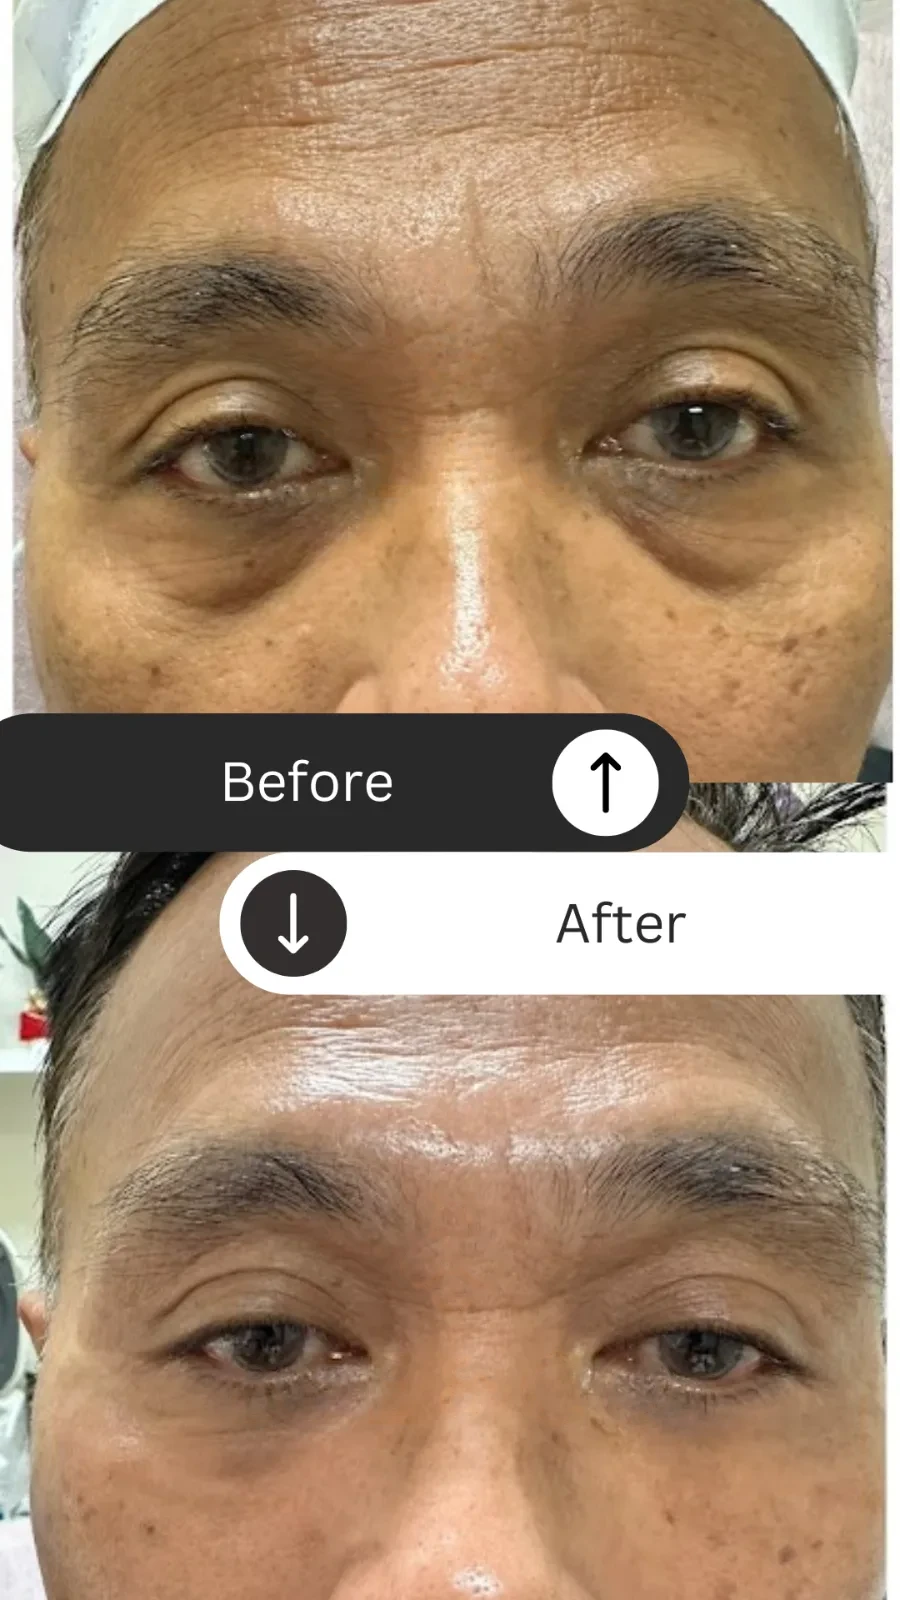
Before and after treatment photo 1
Before and after treatment photo 2
Before and after treatment photo 3
Before and after treatment photo 4
Before and after treatment photo 5
Before and after treatment photo 6
Before and after treatment photo 7
Before and after treatment photo 8
Before and after treatment photo 9
Before and after treatment photo 10
Before and after treatment photo 11
Before and after treatment photo 12
Before and after treatment photo 13
Before and after treatment photo 14
Before and after treatment photo 15
Before and after treatment photo 16
Before and after treatment photo 17
Before and after treatment photo 18
Before and after treatment photo 19
Before and after treatment photo 20